
Changing the engine oil is one of your vehicle’s most crucial preventative maintenance tasks. Doing so every 3,000 to 5,000 miles is recommended for optimal vehicle performance and longevity.
To begin, you’ll need:
Fresh oil, 5 quarts
One brand-new oil rig
Set of Ratchets
Fry Pan
Filter Wrench for Oil
Newspaper
1. Funnel
Towels, paper
Preparation, Phase 2:
Changing the oil on your automobile may require some preliminary steps, depending on your location and the vehicle you’re working on. First, put a stop or piece of chalk in front of one of the back tires, then use the emergency brake. Since working beneath a moving vehicle is inherently risky, they are procedures to ensure your safety. You need to make sure it won’t shift while you’re under it in case of an emergency. You generally won’t need a jack to lift a truck or SUV when you change the oil. Simply getting down on the ground and trying to get under the car will give you a good idea. You should also make sure you have adequate space for both. To get underneath a car, you need to work on it; you will likely need to utilize a jack. Given the wide variety of jacks available, using yours by the manufacturer’s instructions is essential. You should also consider spreading newspapers all over your workspace. You don’t want to ruin your driveway or the place you’re working by leaving oil stains, and there is a chance that this will happen.
Step 3: Dispose of Used Oil
When you crawl under the car, you first need to find the bolt that drains the oil. Once you’ve found it, you must remove it using a socket-appropriate size. Put your oil pan underneath the drainage bolt before you loosen it to collect the used oil. You can undo the nut immediately. Once it’s loose enough, the oil will trickle out, and once it’s completely removed, the oil should flow quickly. Wait a few minutes for the oil to drain out completely. The drainage bolt can be reinstalled and tightened once the oil flow has ceased.
Four, Discard the Previous Oil Filter:
The next thing to do is get rid of the old oil filter. It’s possible that the oil filter can be removed by simply spinning it counterclockwise and pulling it out by hand. If you cannot use the tools, you may need an oil filter wrench to remove it. Be careful when removing the filter since it will be clogged with used oil.
Five, set up a replacement oil filter:
New oil should be poured into the filter, and the gasket on top of the filter should be coated with oil before the filter is installed. Doing so will improve its performance. Reverse the steps to remove the old filter to install the new one. This time, thread the filter in the correct direction by turning it clockwise.
Sixth, put in fresh oil:
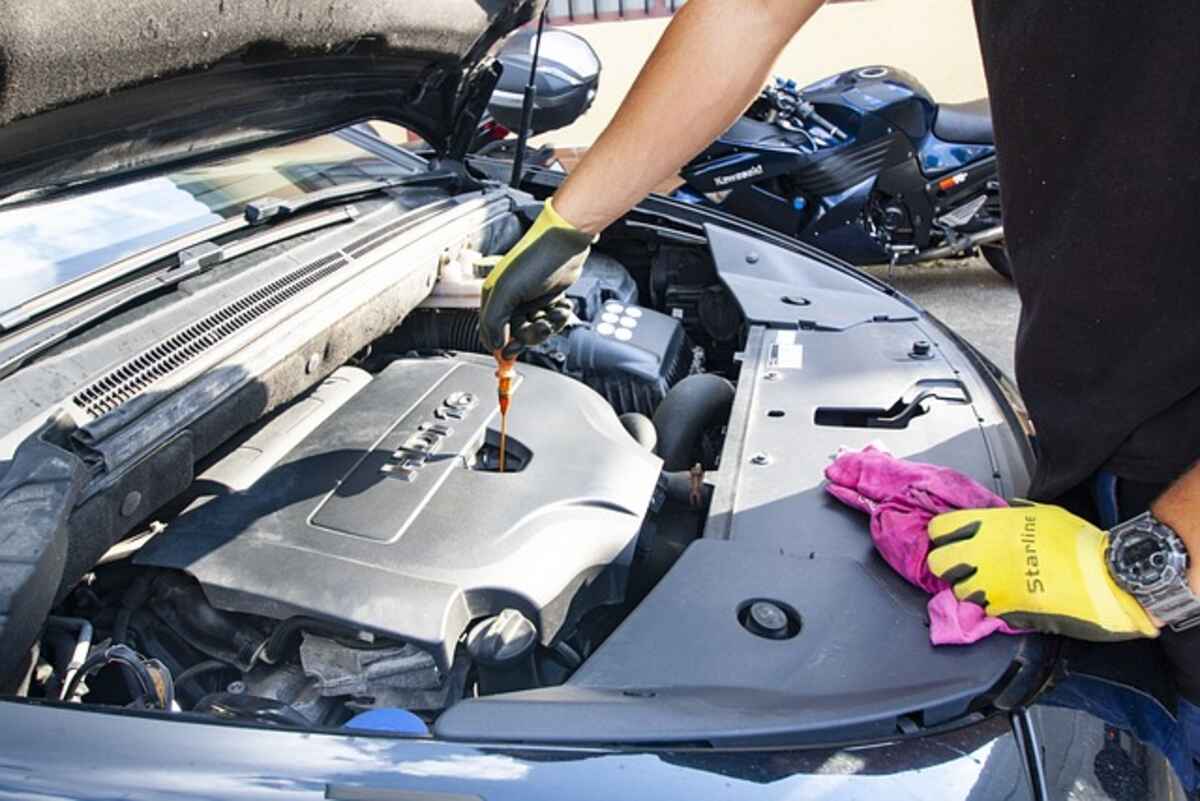
Changing your car’s oil is one of the final but most crucial steps. You’ll need to pop the hood for this. A cap labeled “oil” or “engine oil” will be present. Take off the top so you can put the funnel inside. The new five quarts of oil should be poured into the funnel slowly. Remove the funnel and replace the top when the oil has been drained.
Seventh, tidy up:
Getting rid of the old oil is the most crucial component of the cleanup process. The simplest way is to transfer the old oil from the oil pan into the new oil storage container(s). After you finish, you’ll need to take it somewhere for disposal. Most auto body shops will gladly take it off your hands for free. You may need soap, water, and a little effort to clean.
You just saved yourself the cost of an oil change, and your car should be ready for the next three thousand to five thousand miles.
LiveLoveCoffee is an internet coffeehouse that offers this article by Jura Capresso and serves Technion [http://www.livelovecoffee.com/technivorm]. Plus, coffee makers by Keurig.
Read also: How to Construct a Computer and Component Variety.